
Crimson Moon Angels — Aegis, Sunder, and Angel Ascension
The two Angel forms in Crimson Moon: Aegis and Sunder, plus the Angel Ascension meter, Sigils, executions, and parries. Cites the official How Builds Work dev post.
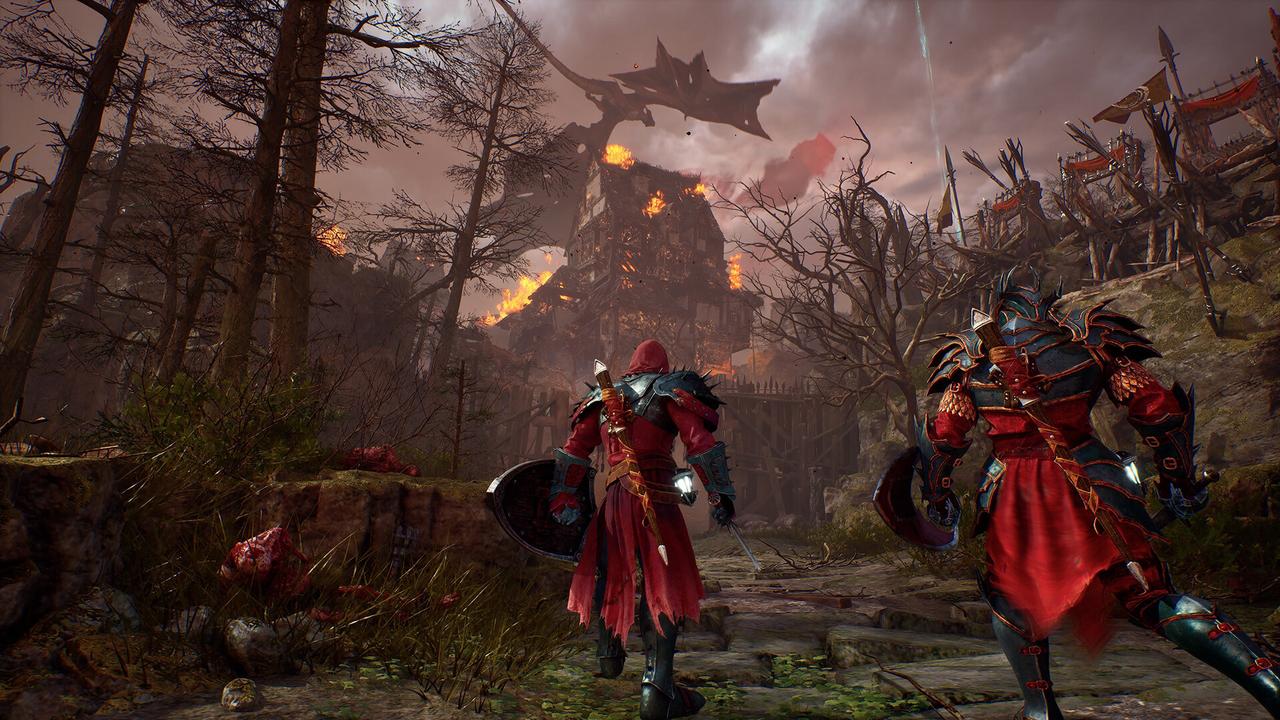
Crimson Moon Angels — Aegis, Sunder, and Angel Ascension
Crimson Moon's classless build system includes Angel companions that transform your Nephilim mid-fight. There are two confirmed Angel forms — Aegis and Sunder — each with its own Sigil that swaps your Weapon Arts for Angel abilities while the transformation is active.
The meter that drives transformations is Angel Ascension: charge it by parrying and executing enemies, then trigger the transformation to cleanse debuffs and unlock a window of boosted damage.
The two Angel forms
| Form | Role | Sigil effect | Best for |
|---|---|---|---|
| **Aegis** | Defensive / cleanse | Strips debuffs on activation; defensive Sigil abilities | Surviving burst windows, fighting DoT-heavy bosses |
| **Sunder** | Offensive / armor shred | Swaps Weapon Arts for high-damage abilities; synergy with [Sunderance](/database/status-effects/) | Boss-fight windows, shred-and-burst setups |
Aegis — defensive transformation
Aegis is the defensive Angel form. Activation triggers immediately on reaching the Angel Ascension meter threshold (charged via parries and executions), and the first thing it does is cleanse all active debuffs — Bleed, Poison, Burn, Marked all drop.
After the cleanse, Aegis grants:
- Defensive Sigil abilities that replace your equipped Weapon Arts for the transformation duration
- A short window of damage resistance
- The ability to safely reposition or land a guaranteed execute
Aegis is the default pick for surviving late-Ward bosses, especially Dead God fights with stacked DoT phases. Per launch-week community discussion (mirrored in player-tips guide), Aegis is the recommended form for first-time Dead God attempts.
Sunder — offensive transformation
Sunder is the offensive Angel form. It does not cleanse on activation — instead, it swaps your Weapon Arts for Angel abilities that deal heavy burst damage, with synergy to the Sunderance status effect keyword.
After activation, Sunder grants:
- Offensive Sigil abilities replacing Weapon Arts
- Boosted damage on all attacks
- Synergy with Sunderance — every Sunderance stack on the target multiplies the Angel abilities' damage
Sunder is the default pick for boss-fight windows once the target is Sundered. Per community Frost builds, pairing Sunder with a Frost-scaling weapon that already applies Sunderance lets the Angel transformation compound the burst.
Angel Ascension — the meter
Angel Ascension is the resource that drives transformations. Per How Builds Work:
- Charge sources: Successful parries, executions on wounded enemies
- Threshold: Confirmed by the developer-run Crimson Moon Wiki (via crimsonmoonguide.online); the exact value is community-tested and may shift with patches
- Activation: On threshold, you trigger the transformation manually (input binding added in Patch 1.0.0.1 keybinding alpha)
The meter is per-run, not persistent. You start each Ward with zero charge and bank it throughout the run. Bosses at end-of-Ward are designed to be the payoff for banked Ascension.
Sigils
Sigils are the Angel abilities you get during transformation. Each form has its own Sigil set:
- Aegis Sigil: Defensive abilities — cleanse on activation (already mentioned), block / parry extension, damage resistance window
- Sunder Sigil: Offensive abilities — burst damage window, Sunderance synergy, multi-hit combos
Specific Sigil names are not yet in first-party sources — community-claimed Sigil names will be added once verified.
How Angels fit the build system
Per How Builds Work, a Crimson Moon build is:
A classless combination of weapon + Weapon Art + Boons + Angel + gear.
Angels are the active window of any build — they're what you press when the meter is full. Pairing an Angel with the right status effect family is the second-most-important build decision after picking the weapon.
- Frost + Aegis — Frost stacks, Aegis cleanse survives DoT windows
- Frost + Sunder — Frost stacks, then Sunder compounds burst on Frozen enemies
- Bleed / Poison + Aegis — defensive sustain for long fights
- Bleed / Poison + Sunder — high-risk / high-reward burst
- Marked + Sunder — Marked multiplies the Sunder burst window
Related
- How Builds Work — Angels as a classless build pillar
- Status Effects — Sunderance interacts directly with Sunder Sigil
- Bosses & Enemies — boss-fight windows where Angels pay off
- Hellish Frost Reaper (RPJames) — Frost + Angel setup
Confirmed by
- Steam store page ↗ — "Angel" companion as a build pillar
- How Builds Work dev post — Angels as confirmed system
- Patch 1.0.0.1 keybinding alpha — transformation input binding added
- crimsonmoonguide.online Angels page (community wiki, cross-checked)
- Player Tips (First Week) — Aegis vs Sunder community consensus